Campaigns Overview
- Get Started
- Automations
- Patient Channel
- Patient Facesheet
- Collaborative Inbox
- Lines & Resources Requests
- Lines, Events, Resources
- Analytics
- Platform Settings and Configuration
- Users and Groups
- Campaigns
- SMS Basics
- Troubleshooting and FAQ
- Conversation Builder
- Add-Ons
- Release Notes
- Technical Specifications
- Referrals
- Self-Rescheduling
- Recalls
- Marketplace
Table of Contents
Who can create and send Campaigns?Who can receive Campaigns?Building CampaignsCampaign MessageCampaign Timing Final ReviewEnabling CampaignsWhen Broadcast messages do not suit your delivery volume needs, we recommend using Campaigns. With Campaigns, you can create and send large volume outreach—up to 30,000 patients per Campaign—and stop building call and mailing lists.
Campaigns are often used to notify a targeted list of patients of a new service you are offering or to fill a gap in care. Campaigns can also be pre-scheduled to send on a specific date, allowing you to more efficiently meet messaging needs.
Who can Create and Send Campaigns?
Campaigns can be sent out by the User Type indicated on the Permissions page. This means you can choose to restrict Campaigns by User Type.

Who can receive Campaigns?
Campaigns can be sent to any patient that exists within the Artera Enterprise, it is not limited to the patients present in the Practice. Additionally, Campaigns can be sent to Unverified Patients (but not those who are manually added). Click here to learn more.
Building Campaigns
Create a Campaign
Let's review how to create a Campaign.
-
Navigate to the Navigation Bar and select the Campaigns Megaphone icon.

- Click Create Campaign on the top-right corner of the page. NOTE: Ensure you've selected the correct Practice, displayed in the Practice dropdown menu.

-
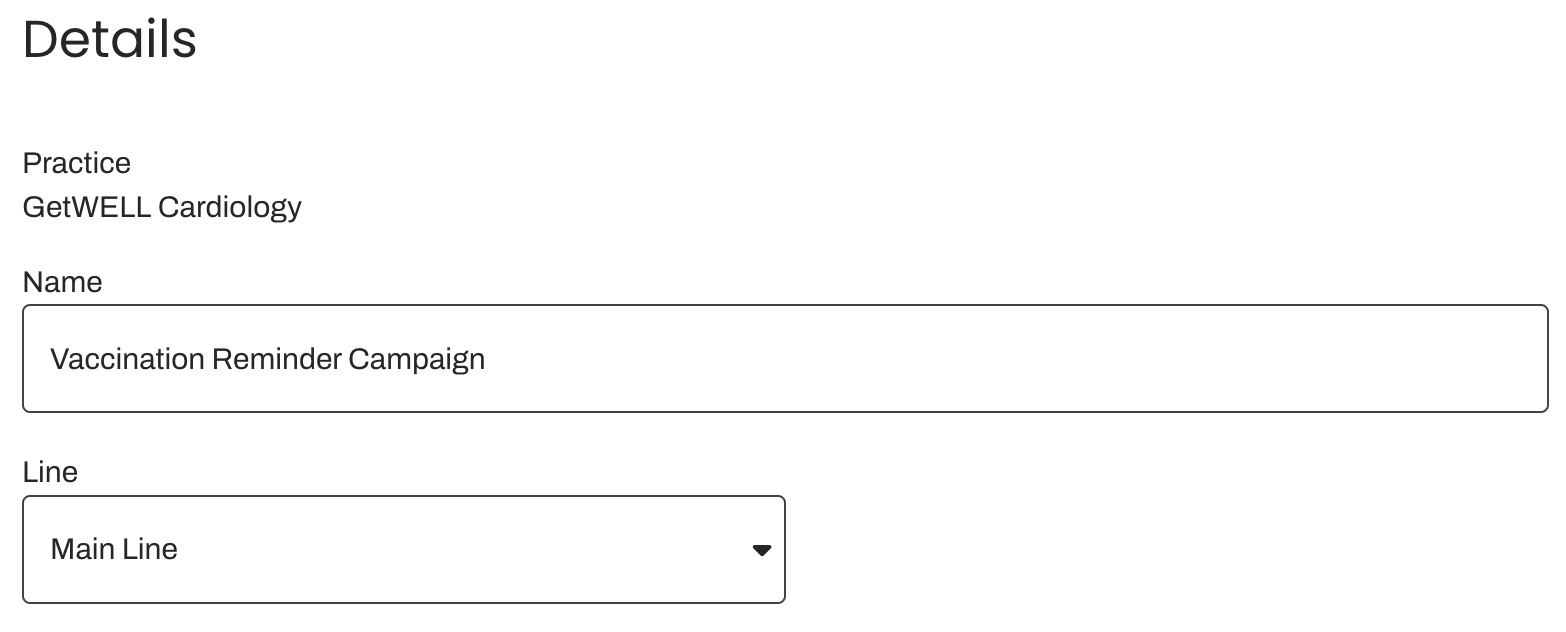
Enter a Name for the Campaign (e.g. Vaccination Reminder, Flu Shot, etc). This name is not patient-facing and serves as the Campaign's title. Select the Line to associate with this Campaign. Messages will be delivered by a high-volume toll-free number; however, patient responses will be directed to the selected Line.
- To send Campaign text messages, Artera uses a high-volume toll-free number instead of the Line's phone number to circumvent the restrictions that phone carriers place on the number of texts that can be sent from a single phone number. Sending the Campaign message by a toll-free number helps increase its deliverability and prevents phone carriers from perceiving your phone number as spam. NOTE: Campaign calls made to patients use your Practice's Line, not your Enterprise's high-volume toll-free number.
- To send Campaign text messages, Artera uses a high-volume toll-free number instead of the Line's phone number to circumvent the restrictions that phone carriers place on the number of texts that can be sent from a single phone number. Sending the Campaign message by a toll-free number helps increase its deliverability and prevents phone carriers from perceiving your phone number as spam. NOTE: Campaign calls made to patients use your Practice's Line, not your Enterprise's high-volume toll-free number.
-
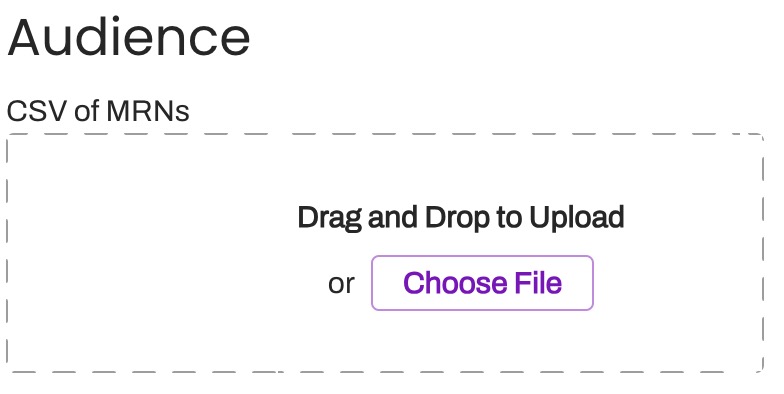
Next, you will need to upload a list of patients to send this Campaign to. Choose to either drag and drop the file into the white box or select Choose File to open the File Selector.
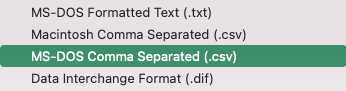
- Upload a .CSV file containing the unique Patient ID (typically an MRN) from your EMR. Although CSV (comma delimited), CSV (Macintosh), and CSV (MS-DOS) are supported, we highly recommend saving your file as an MS-DOS Comma Separated (.csv) file, if available. This prevents empty rows and decreases the time it takes to upload and digest the file.
 Important: If your Patient IDs contain leading zeros, be sure the file saved contains the leading zeros. To do this, select your data range in the file and press Ctrl+1 on your keyboard to launch the Format Cells dialog. On the Number tab, select Text. Note: This will not change the format of the Patient IDs already entered into the file. It will only affect Patient IDs entered after the new data format is applied. If these steps do not work for your file, please connect with your IT Team.
- This file must be under 500KB (which is around 30,000 patients) and include a single column of MRNs/patient IDs in Column A with no header and no additional information. Typically, you can export a report from your EMR containing the IDs and remove the extra information.
.jpeg)
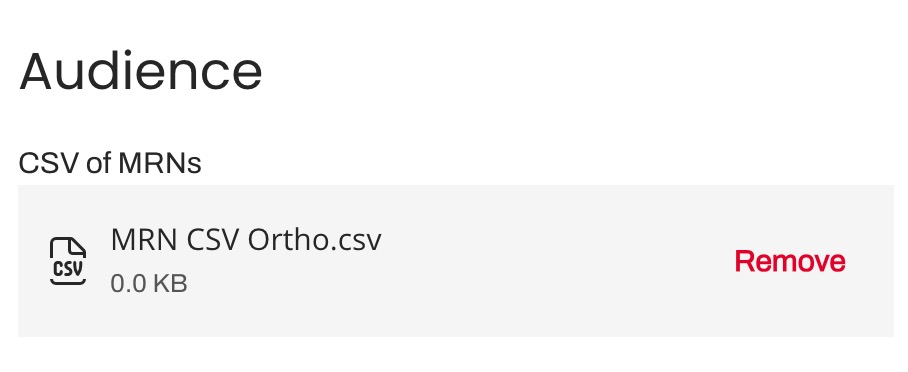
- After the file has been uploaded, the file name will display in the Audience section. To remove the file, select Remove. Once ready, select Continue.
- Upload a .CSV file containing the unique Patient ID (typically an MRN) from your EMR. Although CSV (comma delimited), CSV (Macintosh), and CSV (MS-DOS) are supported, we highly recommend saving your file as an MS-DOS Comma Separated (.csv) file, if available. This prevents empty rows and decreases the time it takes to upload and digest the file.
Campaign Message
Create your Campaign message for each of the desired delivery options (Text, Call, Email). To increase deliverability, we recommend building messages for both Text and Call. You can choose to craft your own Campaign message or use a Quick Response.
Manual Message
-
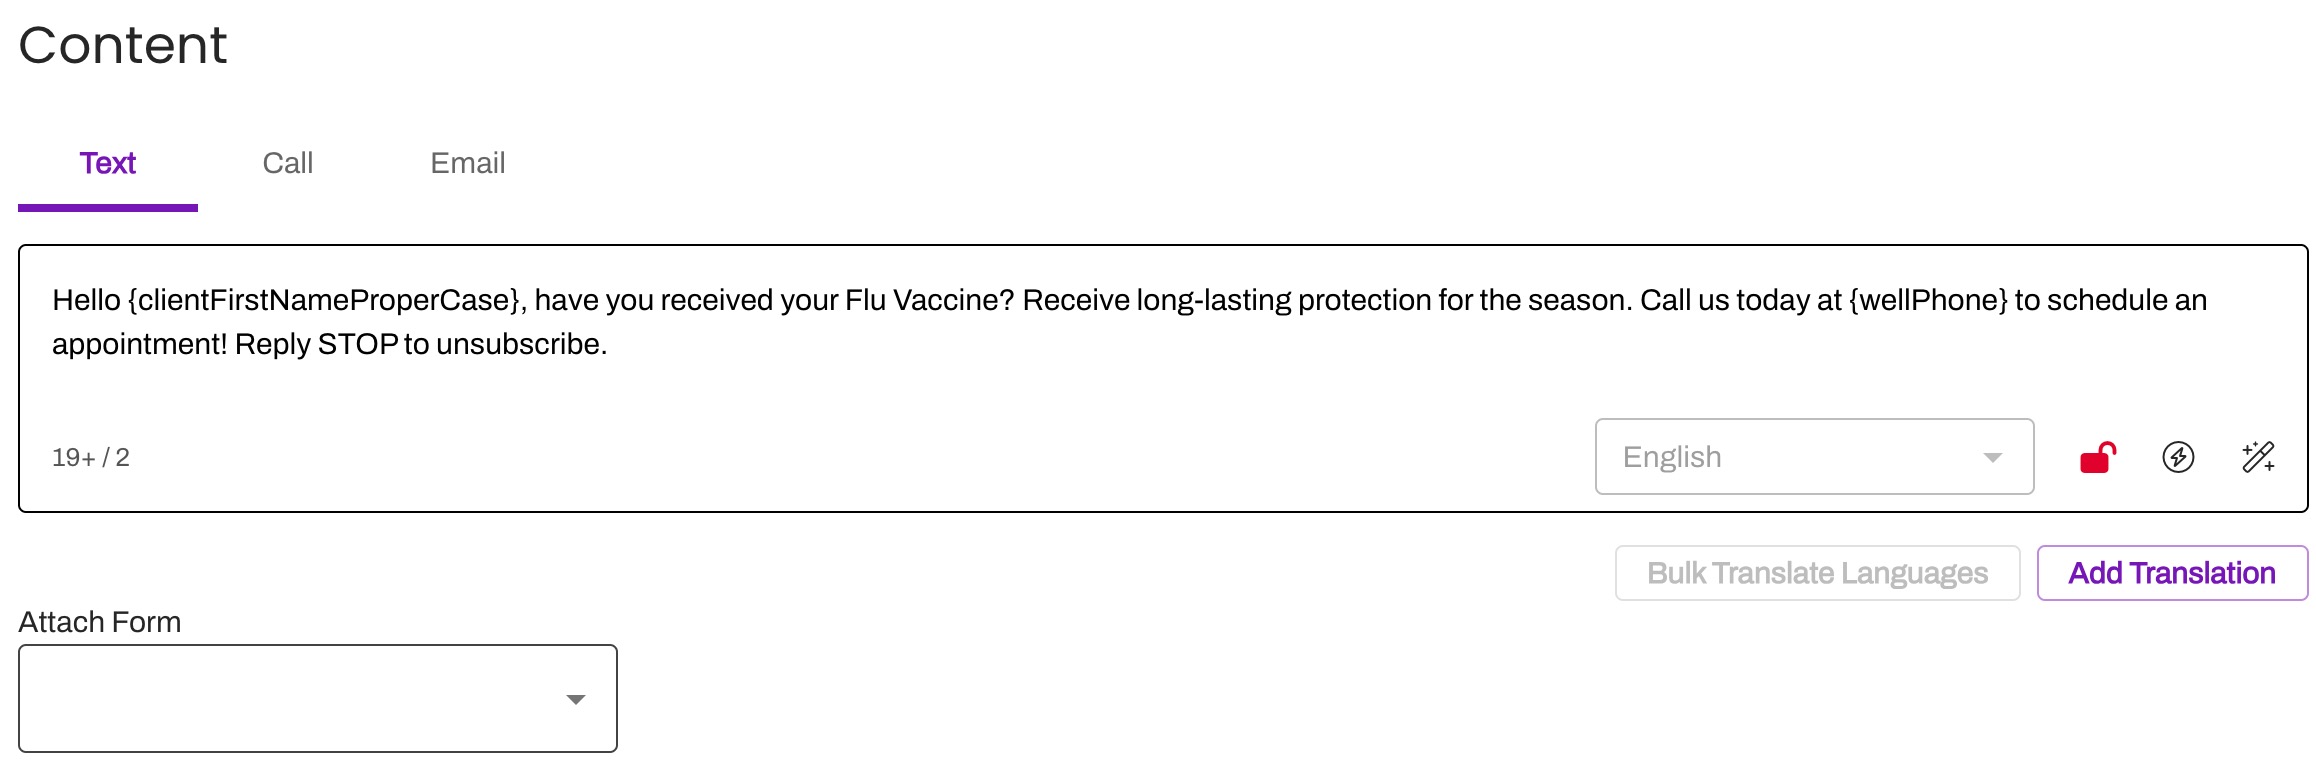
Use the appropriate Smart Phrases to personalize the message. {clientFirstNameProperCase} is always a good option.
- Note: Smart Phrase use is limited within Campaigns, as Event, Referral, and Discharge Smart Phrases cannot be used. Use the Smart Phrase wand to identify the supported Smart Phrases.
-
To prevent your Campaign from being deciphered as spam by patient phone carriers, you must include opt-out language within your message. A common example of opt-out language is: "Reply STOP to unsubscribe."
- Note: If a patient chooses to opt-out, they will be opting out of future messages sent from that Line that is associated with the Campaign. This can include Manual Messages, Automations, and Broadcasts. Click here to learn more.
-
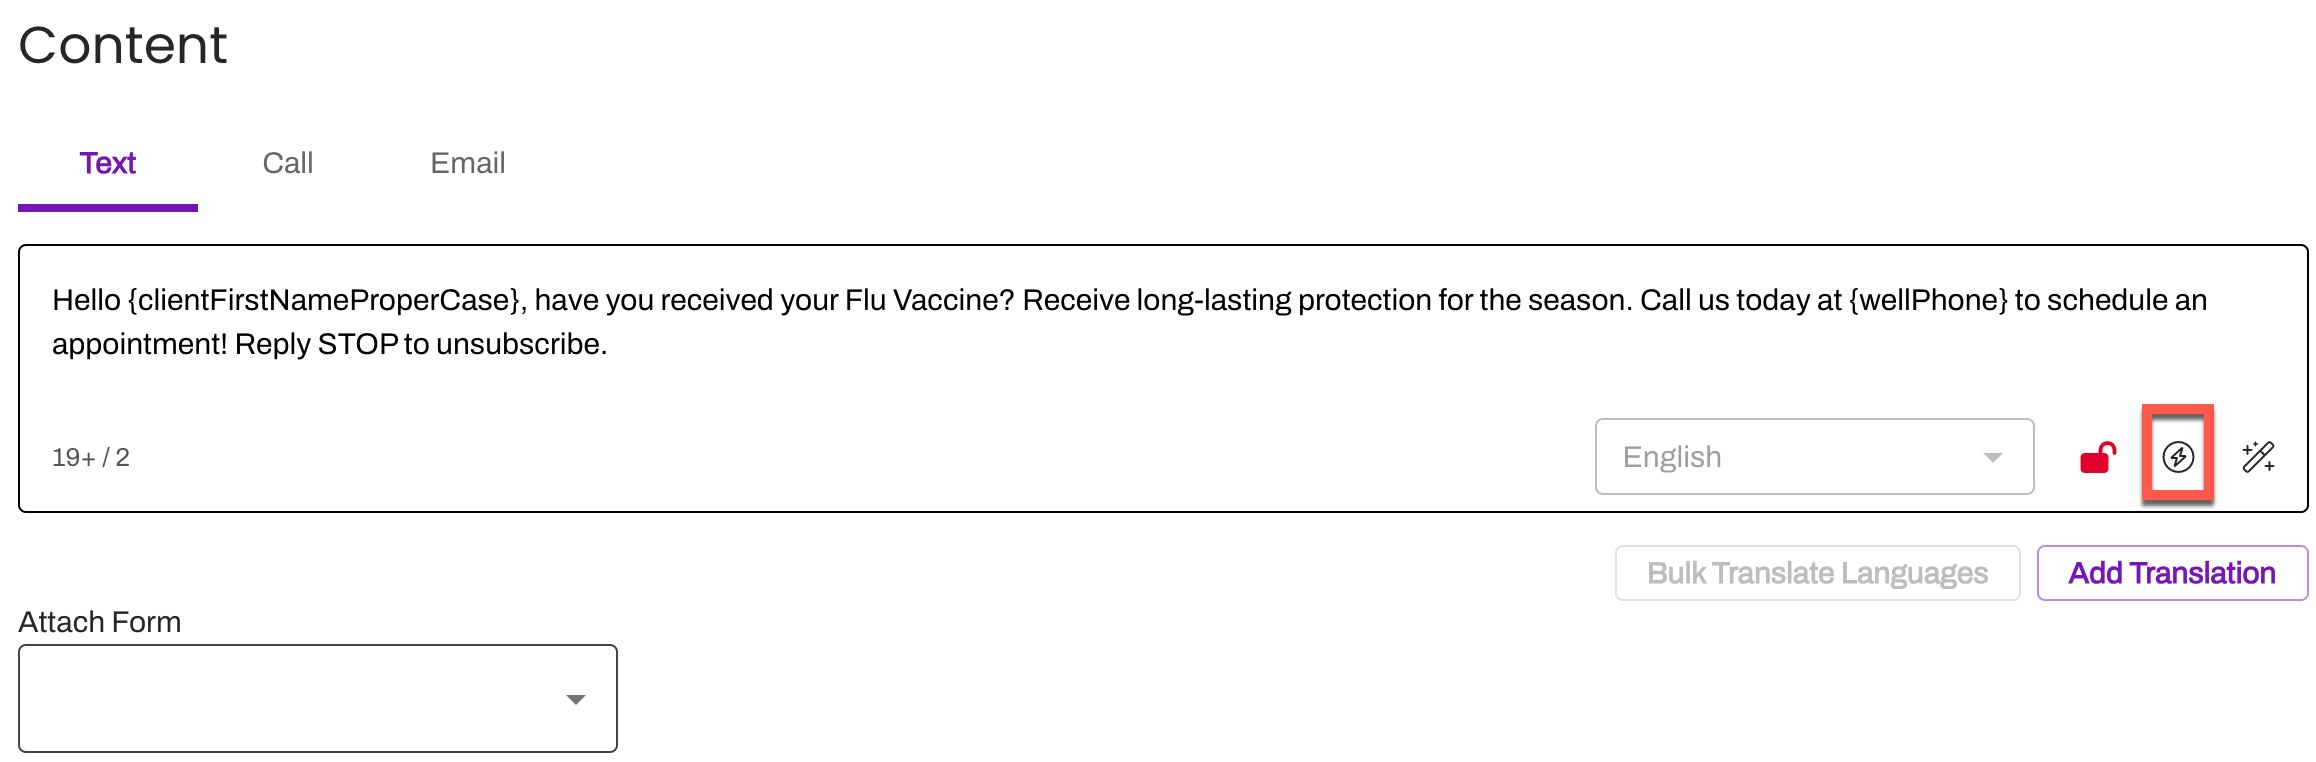
Unsecure Campaign text messages must be under 1,600 characters, otherwise, the message will fail to send and you will receive a yellow warning. If the Campaign text includes Smart Phrases, the character limit is reduced to 1,000. You can check this by ensuring the denominator of the fraction of the character count in the bottom right corner of the message is equal to 10 or less. Learn more about SMS Character Limits and Message Formatting Guidelines.
-
Note: Community Outreach messages should be sent as unsecured (ensure the lock icon is open) messages.
-
Note: Community Outreach messages should be sent as unsecured (ensure the lock icon is open) messages.
- Choose whether to send your Text and Email message as Secure or Unsecure. Tip: Use !! to automatically unlock the message.
- Campaigns respect Language Preferences, so you can add Translations if supported by your integration.
-
Include an Artera Form, if desired.
- Note: You cannot include any other attachments to this message.
Quick Response
Note: When using Quick Responses with Campaigns, it is important to confirm that you do not include any Event (i.e {eventDate}), Referral, or Discharge Smart Phrases. Use the Smart Phrase wand to identify which Patient and General Smart Phrases are supported by Campaigns.
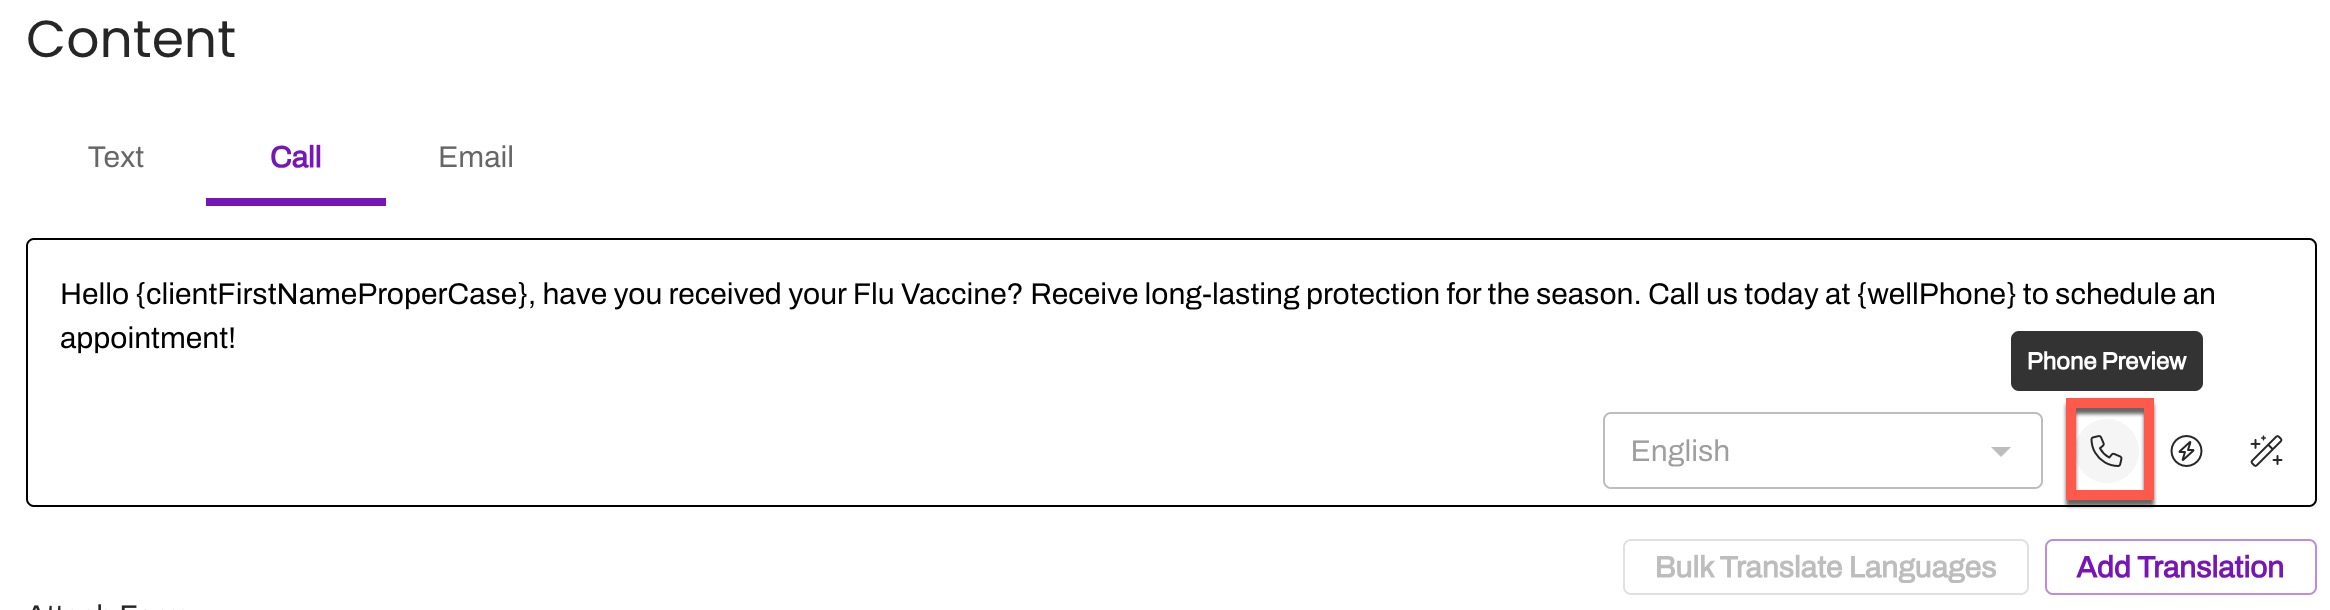
Preview Phone Call
You can validate how your Call message will sound by previewing the phone call. In the sample call, any Smart Phrases will be randomly populated with generic placeholders.
- Click the Phone icon at the bottom of the message.
- Enter a valid 10-digit U.S. phone number and select Call Me.
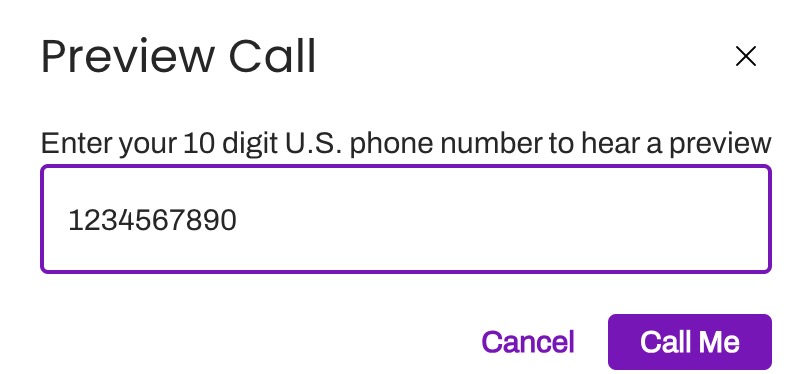
- Once the phone rings, be sure to say Hello to activate the message delivery.
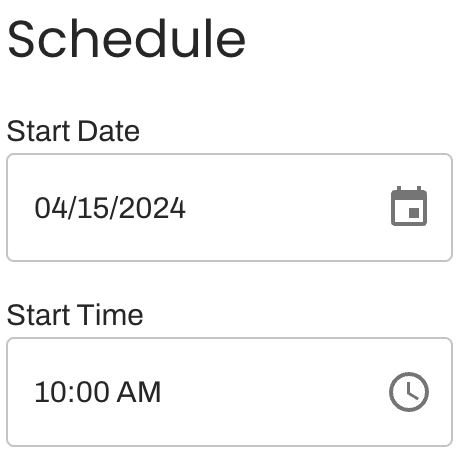
Campaign Timing
Next, determine when the Campaign should be sent. A Campaign's Start Date and Start Time is automatically set to the current date and time. However, if you wish to schedule the Campaign for a later delivery, this can be modified to suit your communication needs. NOTE: Campaigns follow your Practice's timezone.
Send Only Between the Hours of
Depending on the volume and cadence of messages you are looking to send, the Campaign may send over several days. Use these delivery time slots to indicate which hours of the day are okay to send the Campaign message.

For Campaigns where you want patients to engage with you (e.g. text or call to schedule a visit), ensure the volume of responses is manageable for your team. For example, if you have a staggered start and your full staff is only on shift from 10:00 AM-3:00 PM, consider settings delivery times based on staff availability.
Please note that Campaigns respect TCPA Hours and therefore, can only be set to send between 8:00 AM - 9:00 PM in your Practice's timezone. If the Campaign's daily start and end times fall outside TCPA mandated hours, the following error message will appear:

Send on Business Days Only?
Use the checkbox to choose whether this Campaign should only be sent on Business Days. Business Days are determined by your Practice and Line hours. Any day that your Practice/Line is open for any duration of time counts as a Business Day in Artera.

If you are running a Campaign that asks the patient to engage with you, we recommend enabling this setting. This ensures that someone will be available to respond to the patient quickly.
Note: In Practices set up for One-Way messaging, all days are Business Days, so this toggle will not impact Campaigns.
Messages to Send per Hour
Set how many messages you would like to send per hour. This rate can be set using increments of 12 messages per hour, with a maximum rate of 2,496 messages per hour. However, Artera sends an evenly distributed amount of messages every 5 minutes. See table below for more information.
Click and drag the slider to change the speed of message delivery; you will notice the text below the slider will update with the chosen rate.

For Campaigns where you anticipate a large number of inbound responses, consider reducing the send rate. This ensures you will have enough staff to engage with the inbound patient messages without being overwhelmed.
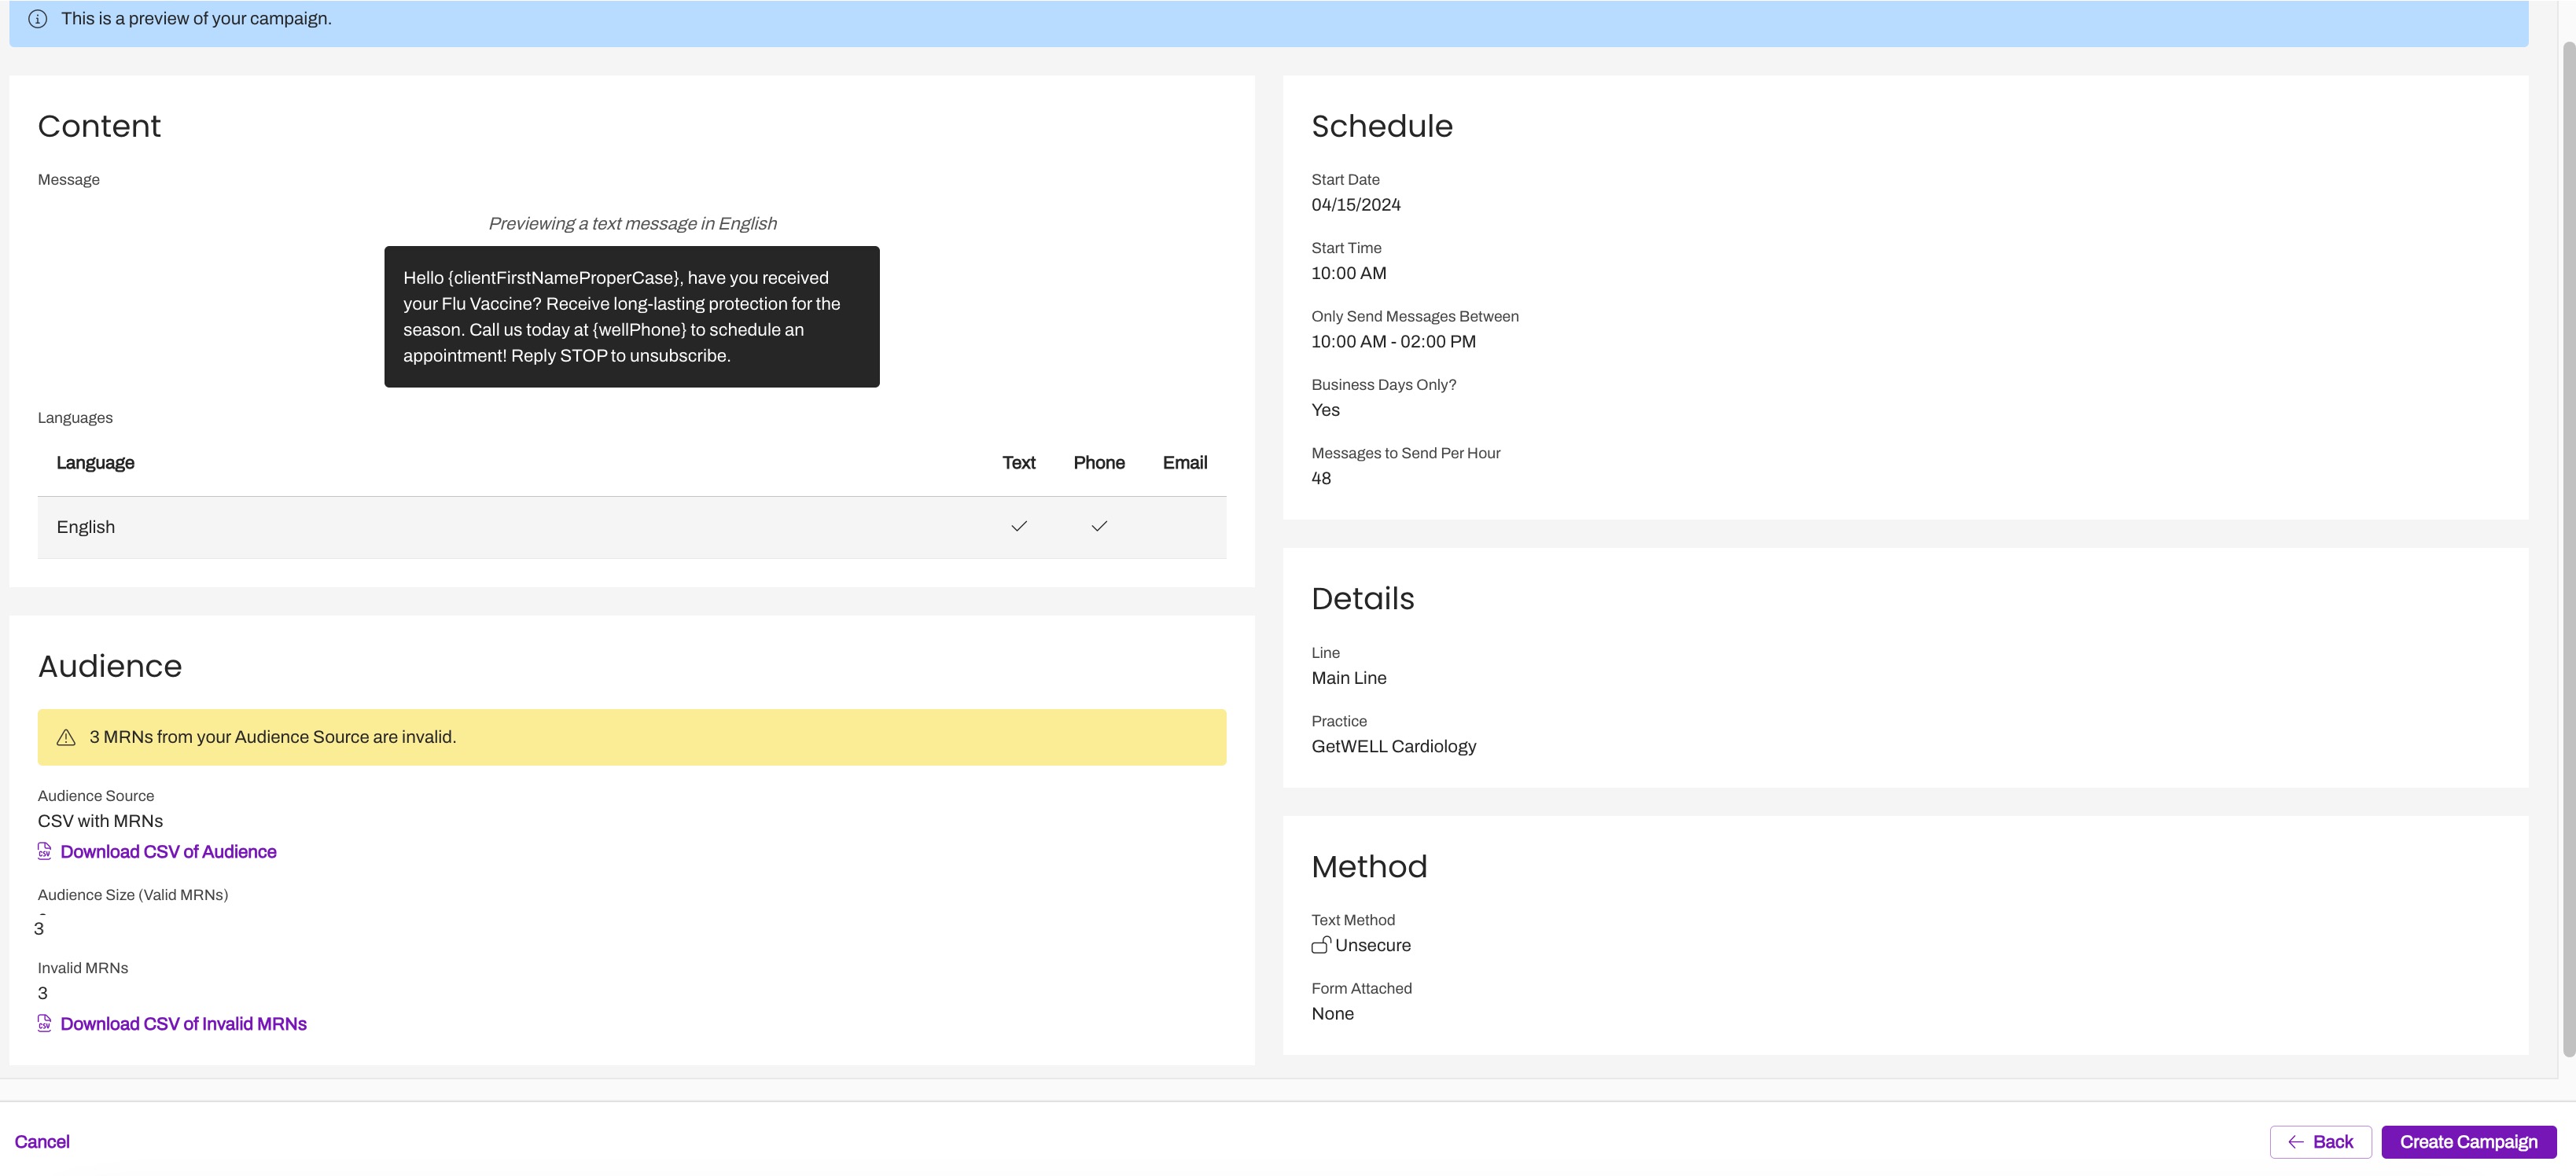
Final Review
Finally, preview your Campaign. Artera calculates the Patients to Reach by processing the CSV you uploaded. If there is a disparity between the number of patients in your uploaded CSV and the number in the Audience Size section, Artera was unable to associate all Patient IDs with an Artera Patient Channel. Select the Download CSV of Invalid MRNs link to download a CSV file of the Patient IDs that Artera marked invalid. Click here for information on eligible patients for Campaign Delivery.
You can also review the Campaign's send dates/times and message content. When you are ready, click Create Campaign.
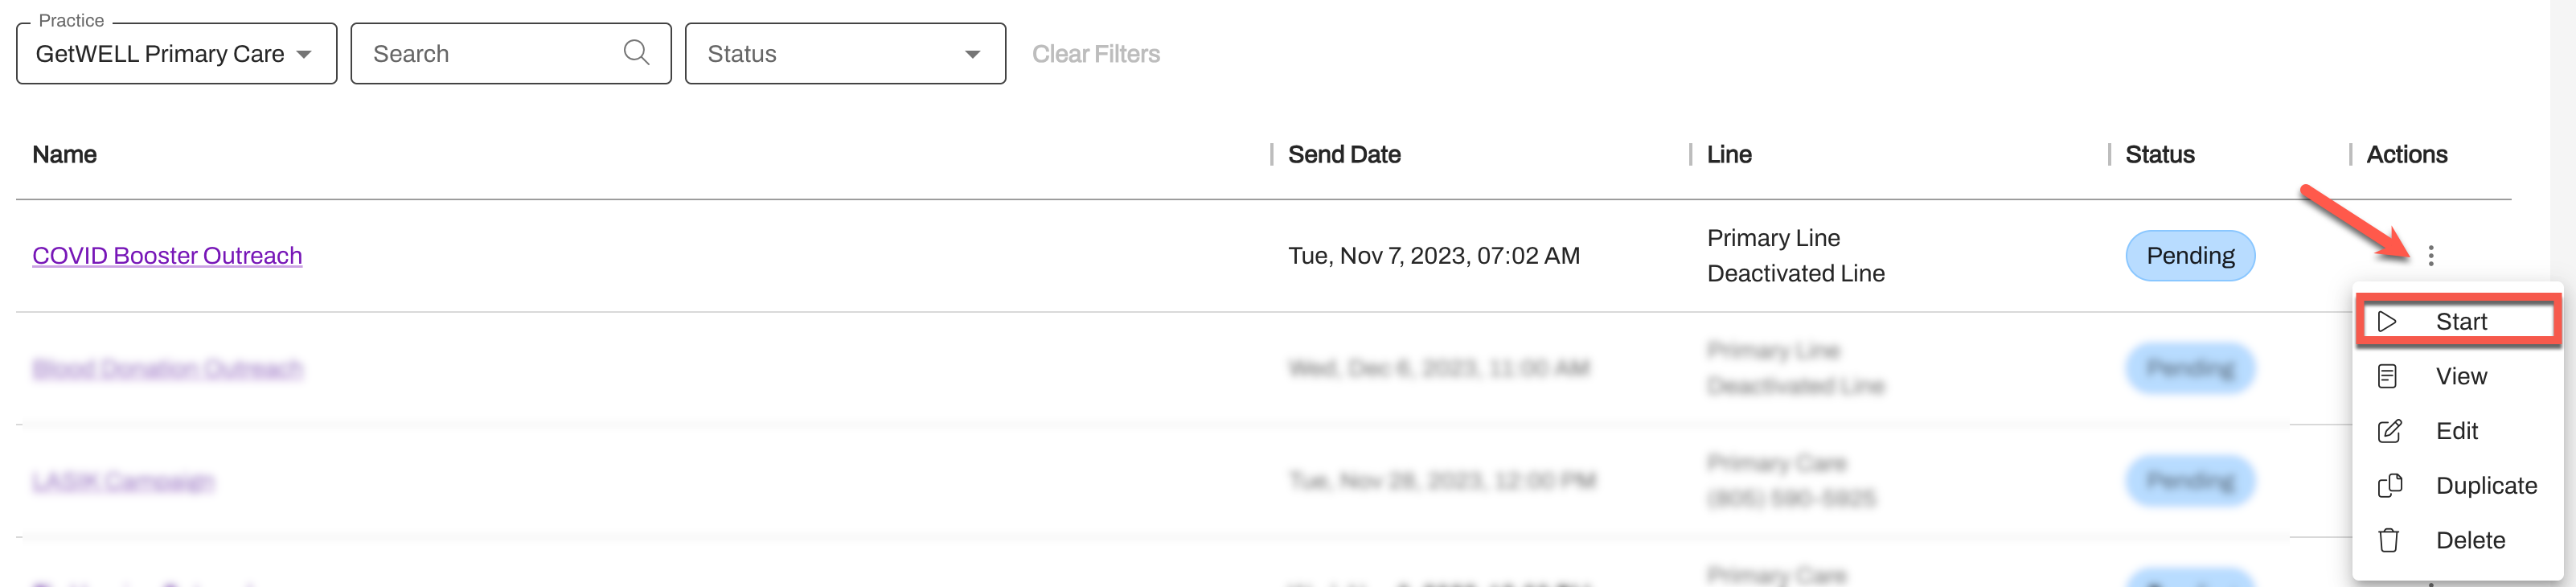
Enabling Campaigns
Once you have saved your Campaign, it will automatically be placed in a Pending status. To start the Campaign, click the Actions (...) menu and choose Start. NOTE: Even if the Campaign was configured to start with the current date and time, the Campaign will begin in the Pending status and must be manually started.
Important: Once you start a Campaign, you cannot edit any of the settings.
Once enabled, the Campaign will move into the Queued status until the indicated Start Date and Time is reached. If the Campaign runs over multiple days, it will automatically move from the Running to the Paused status based on the included Start/End times. To learn more about Campaign management, click here.