Self Service Analytics: Editing Analytics Plus Reports
- Get Started
- Automations
- Patient Channel
- Patient Facesheet
- Collaborative Inbox
- Lines & Resources Requests
- Lines, Events, Resources
- Analytics
- Platform Settings and Configuration
- Users and Groups
- Campaigns
- SMS Basics
- Troubleshooting and FAQ
- Conversation Builder
- Add-Ons
- Release Notes
- Technical Specifications
- Referrals
- Self-Rescheduling
- Recalls
- Marketplace
- Conversation Manager
This article covers how to copy an Analytics Plus report from the Artera Analytics Plus folder into your Enterprise’s custom folder for modifications.
How to Create Report Copies
There are two ways to copy Artera reports into your organization's custom reporting folder in order to make edits to them. Let's start by reviewing the first method below:
Log in to Looker
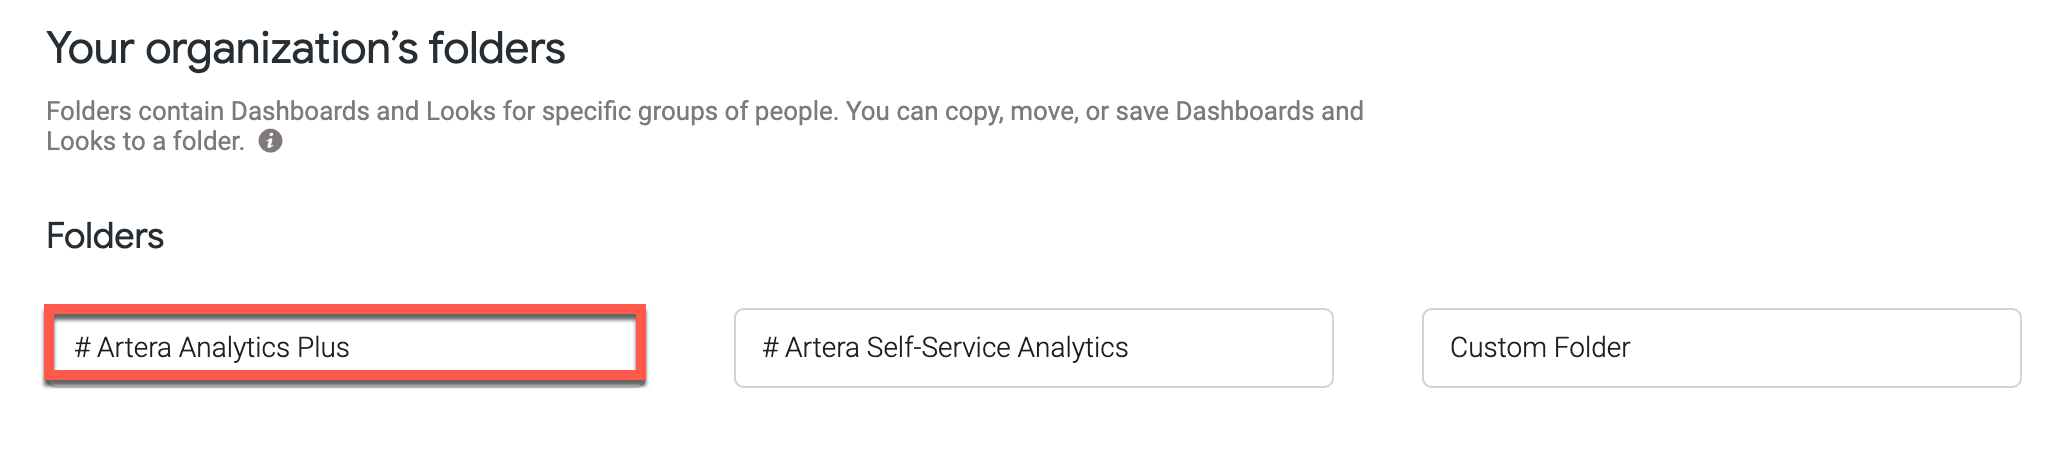
Select the Artera Analytics Plus folder
Locate the report (Dashboard or Look) you wish to copy, select its three-dot menu (...), and choose Copy

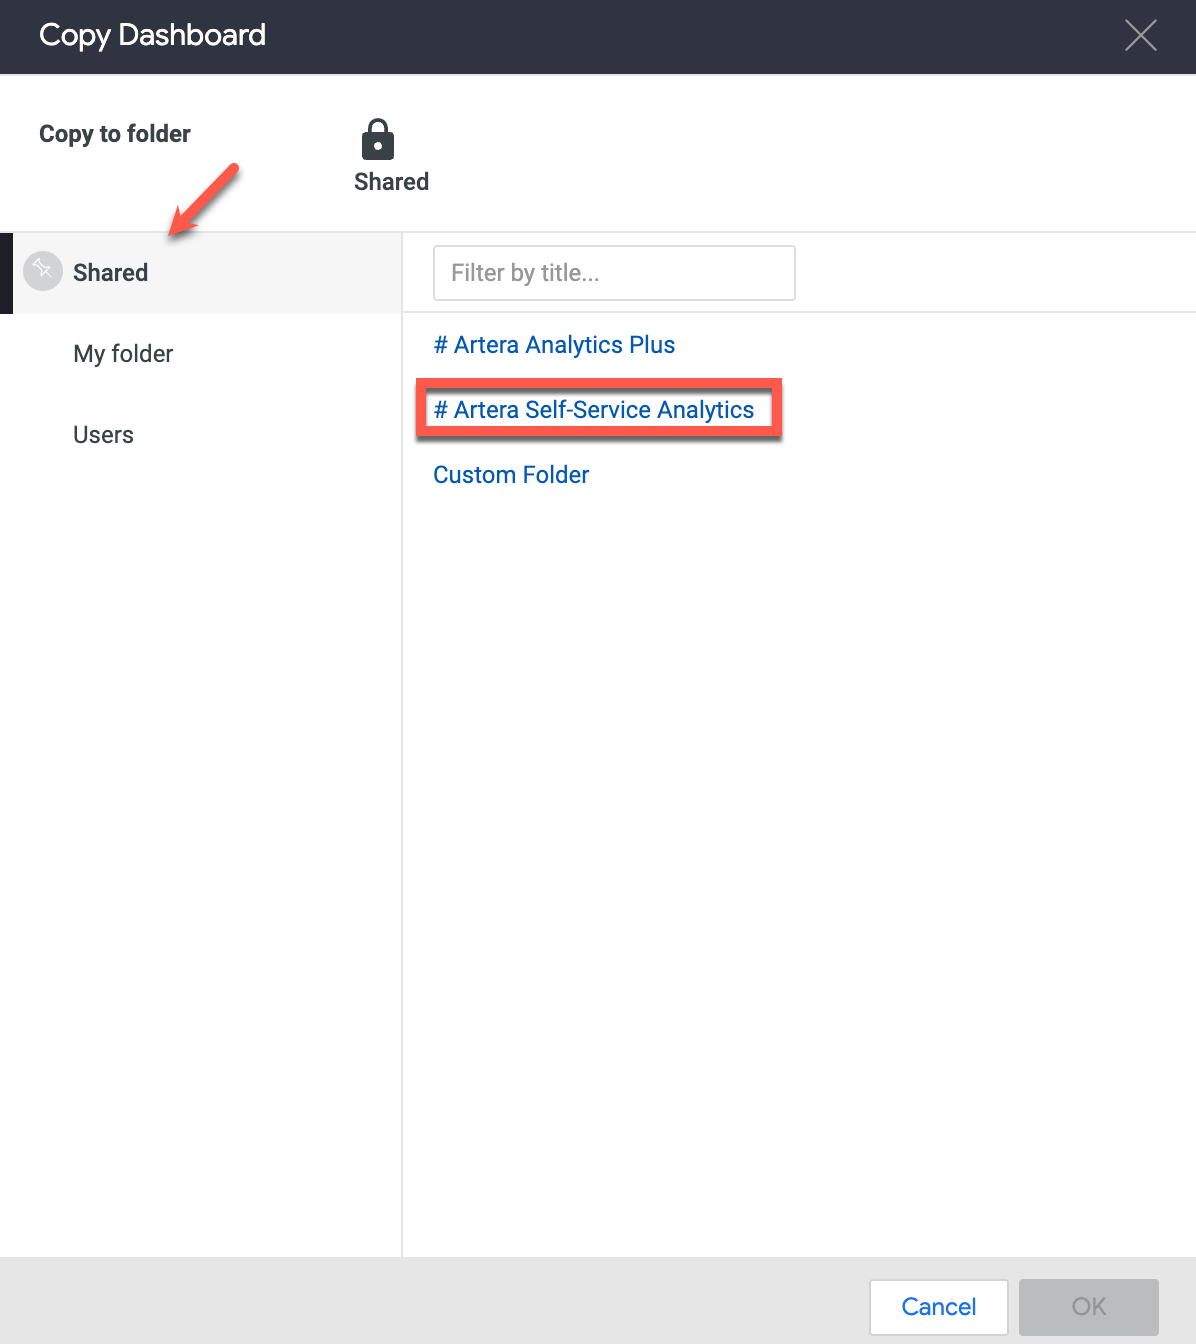
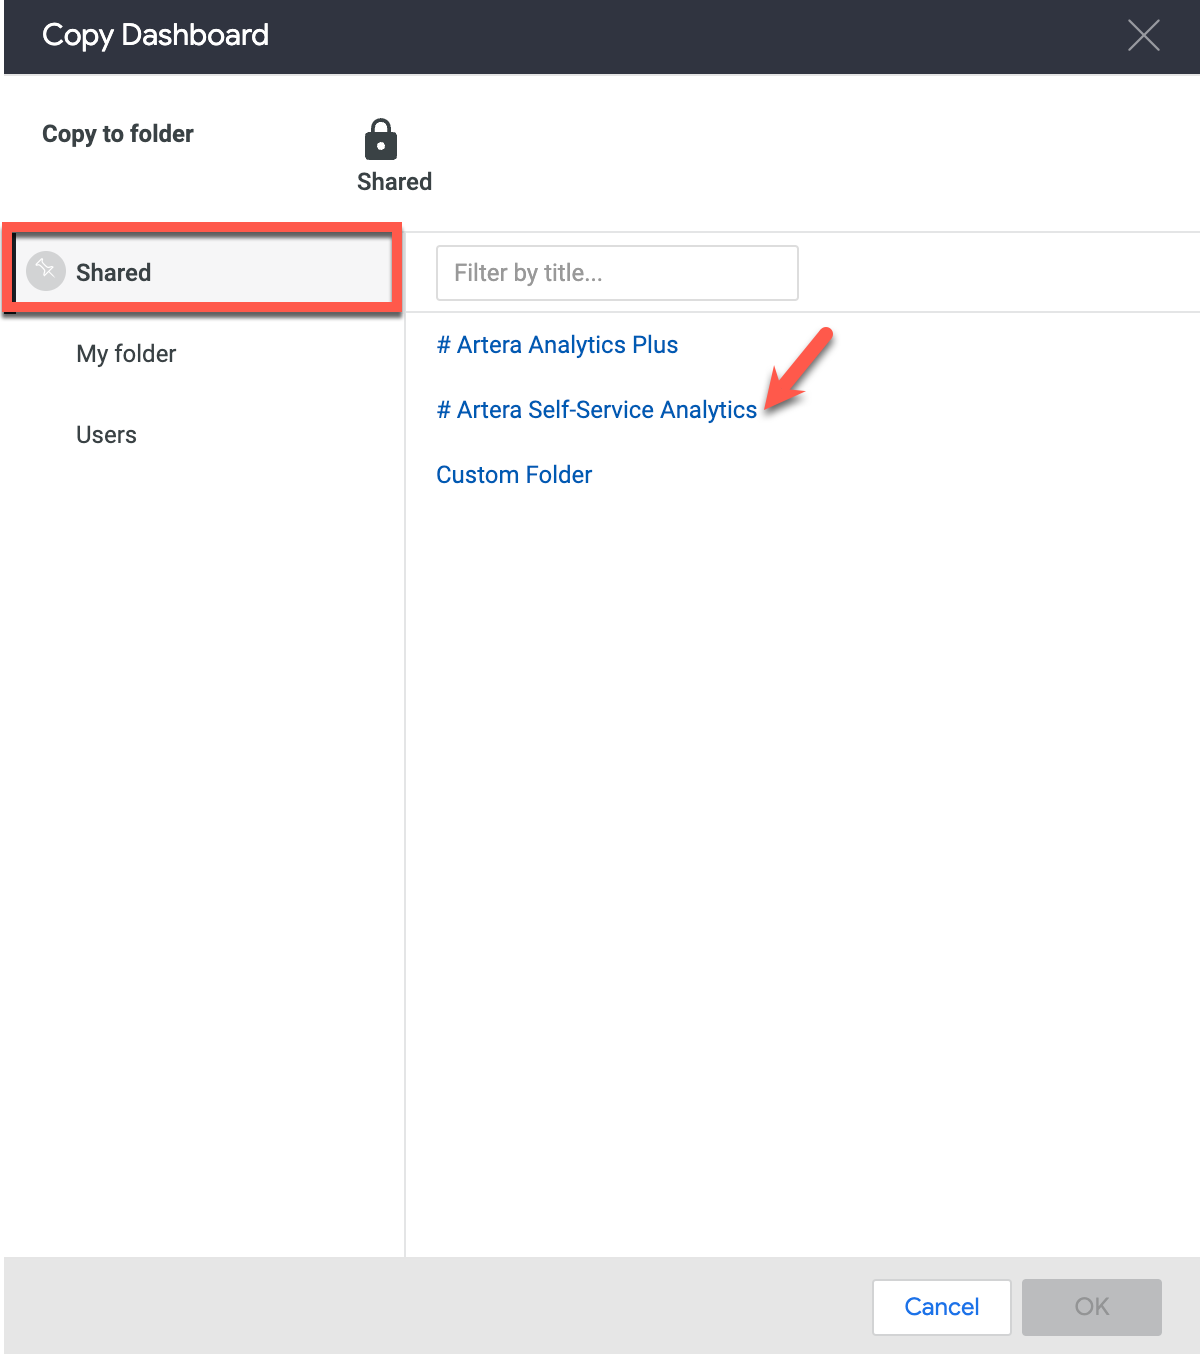
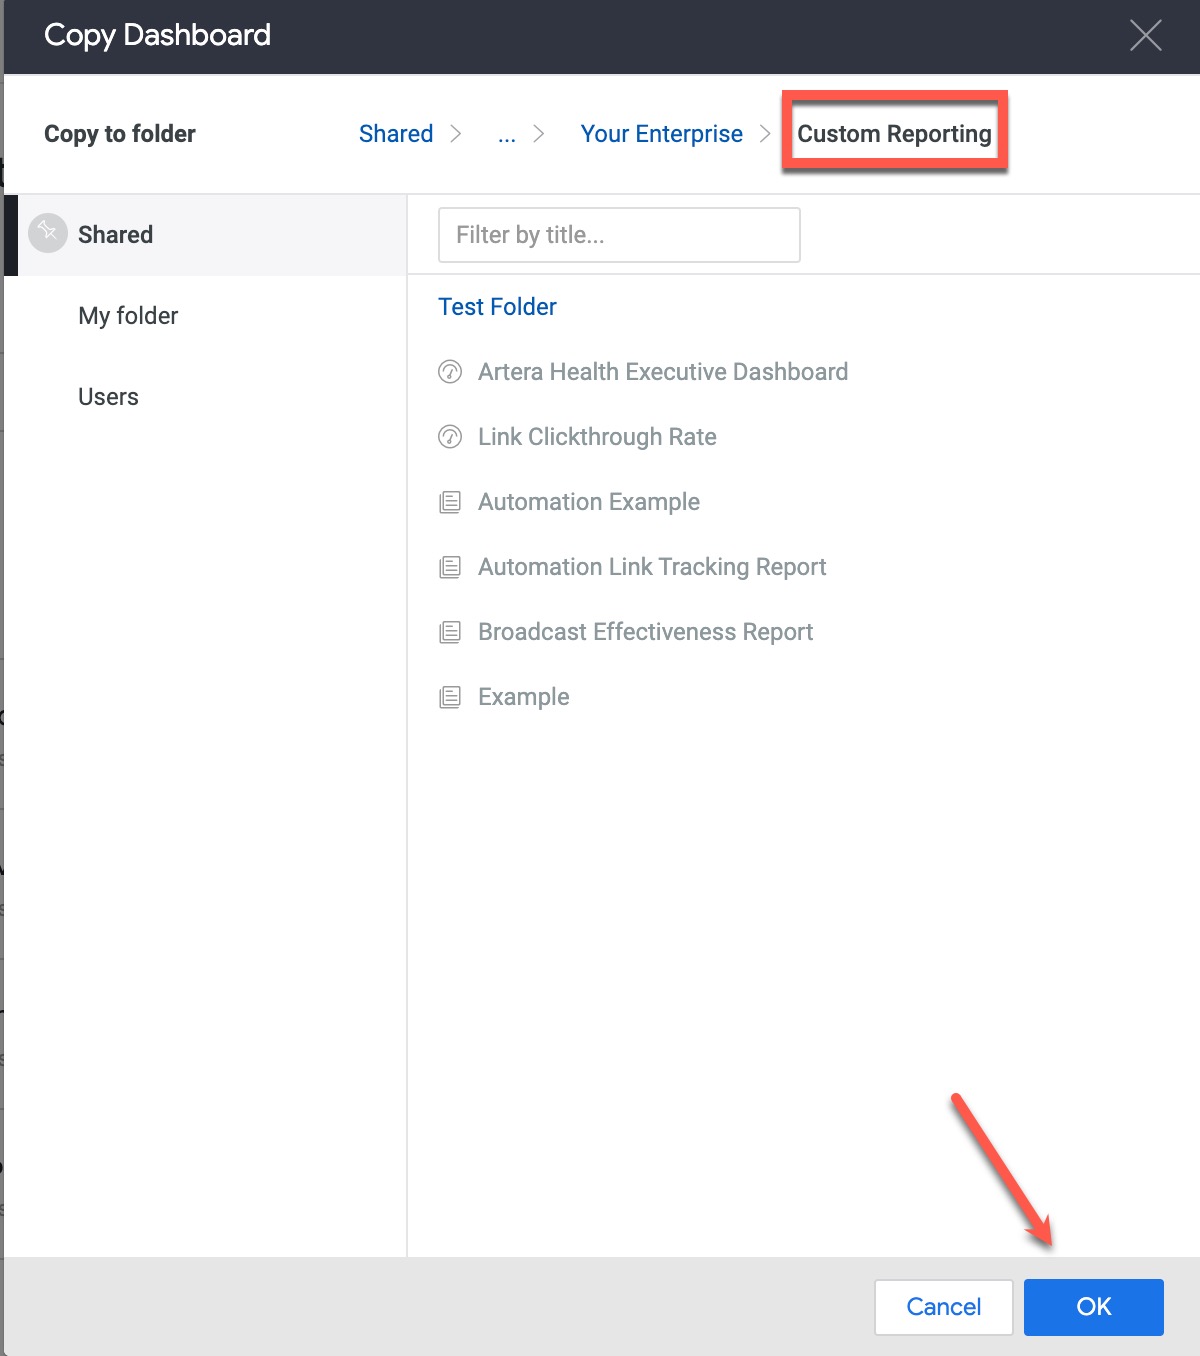
Select the Shared tab and choose Artera Self Service Analytics
Select your Enterprise
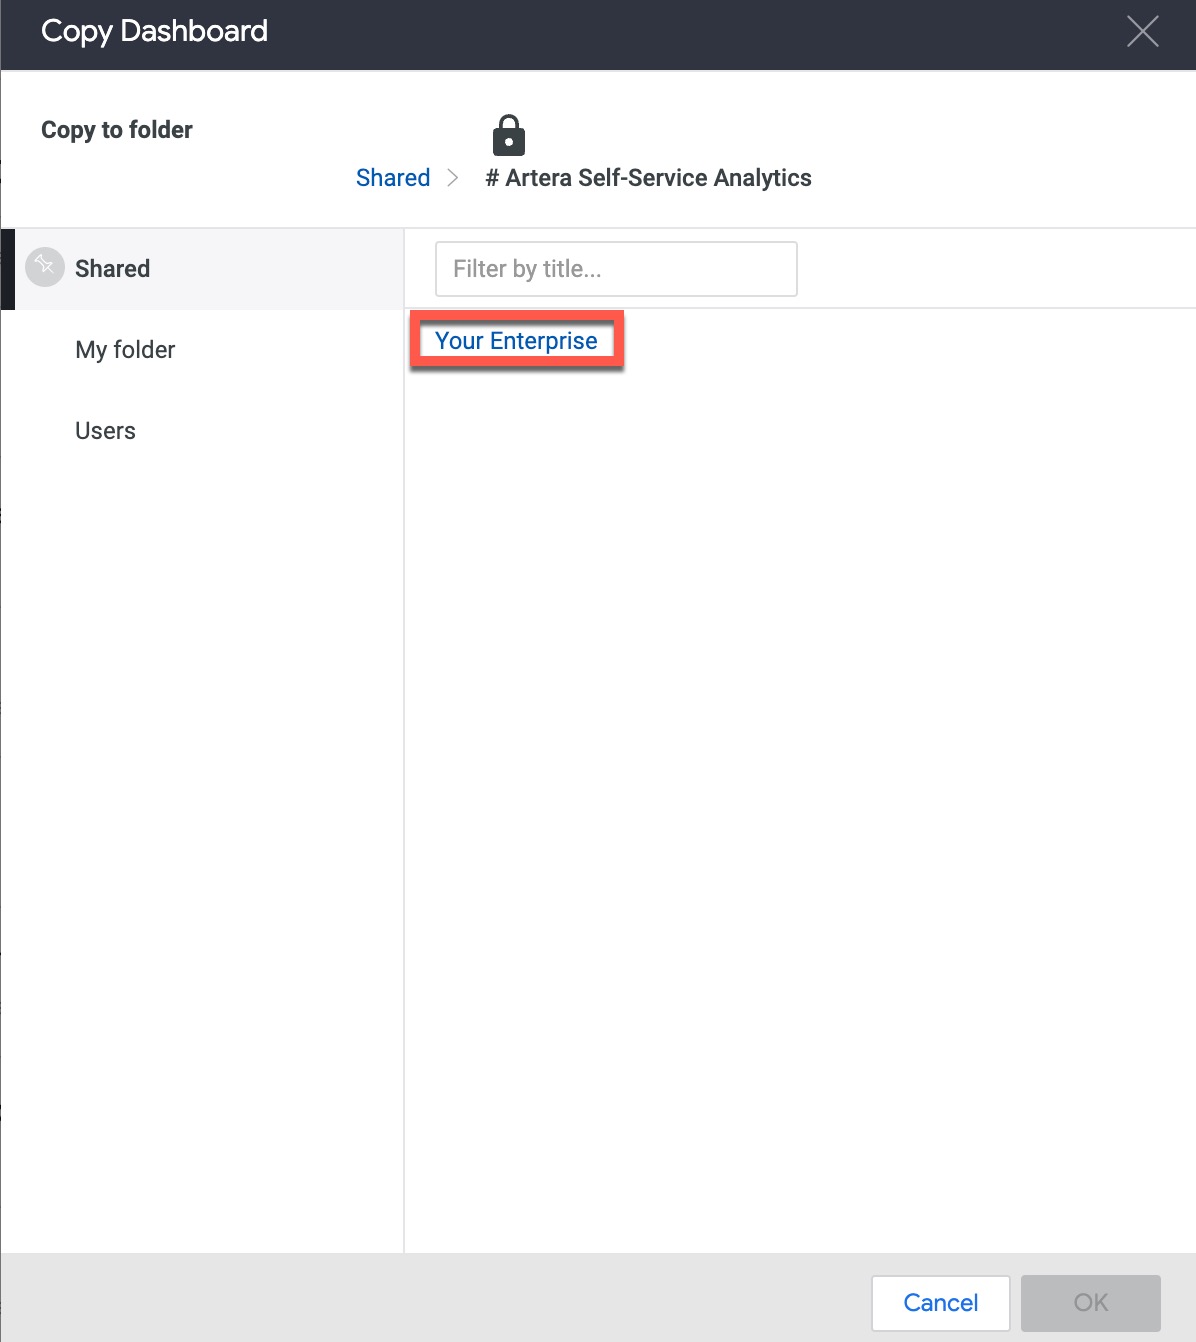
Choose Custom Reporting and click OK

The second route of steps to follow to create report copies in Looker are below:
Log in to Looker
Select the Artera Analytics Plus folder
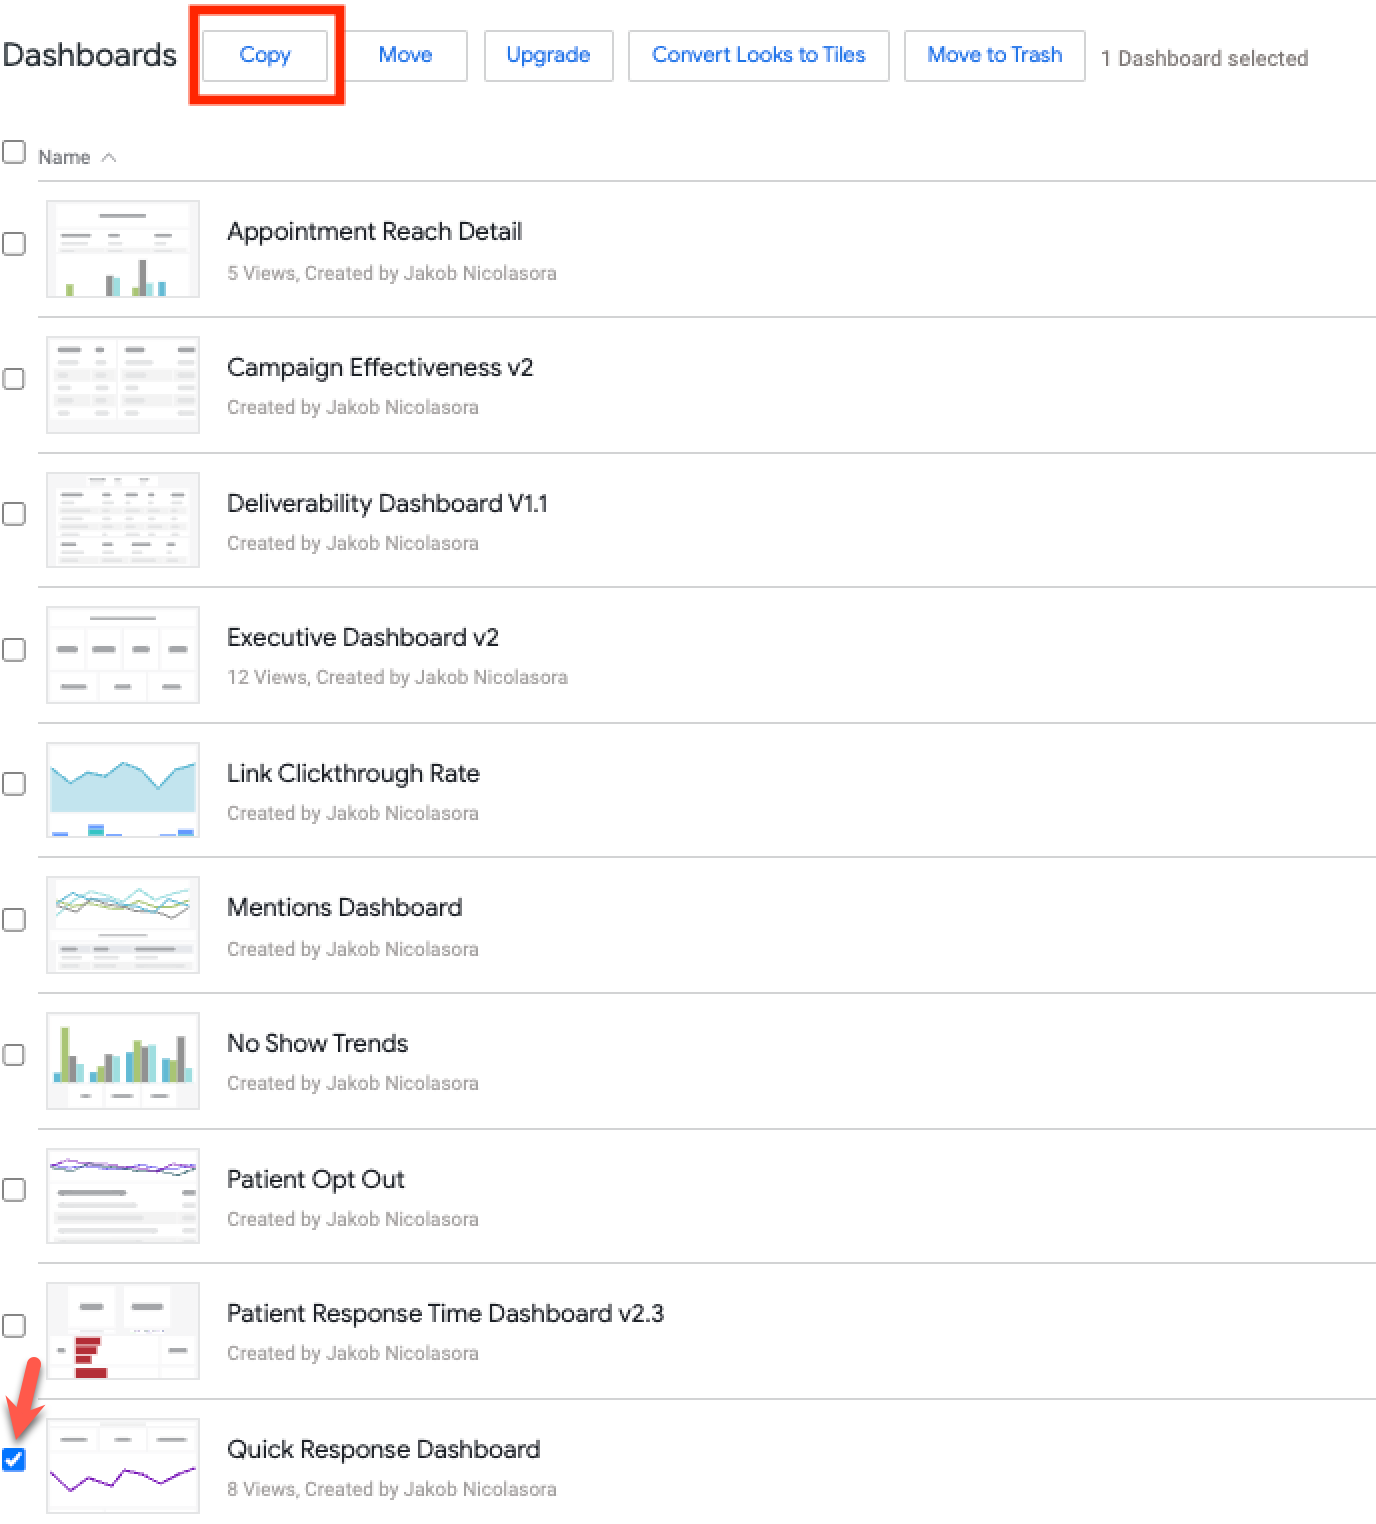
Select the checkbox near the report you wish to copy (Dashboard or Look) and click Copy
Select the Shared tab and choose the Artera Self Service Analytics folder
Select your Enterprise, choose Custom Reporting, select OK
Once the report is successfully copied into your Enterprise's custom folder, it can be edited as necessary to meet your organization’s reporting needs. View the videos below for details on how to edit a Look and Dashboard: