Analytics Basic: 401 Errors
- Get Started
- Automations
- Patient Channel
- Patient Facesheet
- Collaborative Inbox
- Lines & Resources Requests
- Lines, Events, Resources
- Analytics
- Platform Settings and Configuration
- Users and Groups
- Campaigns
- SMS Basics
- Troubleshooting and FAQ
- Conversation Builder
- Add-Ons
- Release Notes
- Technical Specifications
- Referrals
- Self-Rescheduling
- Recalls
- Marketplace
- Conversation Manager
When using Artera Analytics: Basic, you may run across issues with Enterprise Analytics not properly displaying within the Artera platform. Review the information below for resolving these issues.
401 Error
If a 401 Error displays when you accessing Enterprise Analytics, please update your browser settings. Review the information below to update your browser settings.

Google Chrome
Follow the steps below to update your browser settings if your organization uses Google Chrome:
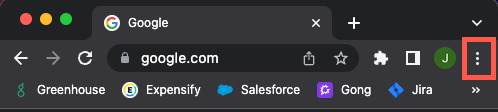
Open Google Chrome and click the Browser Menu button in the upper-right corner of the browser window.
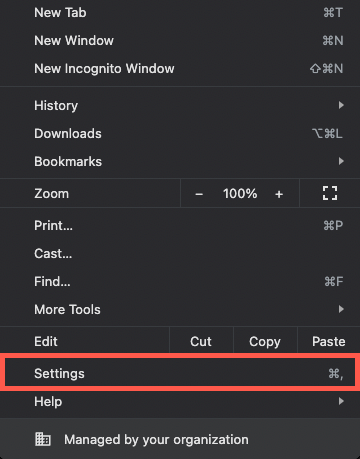
Then, click Settings from the drop-down menu.
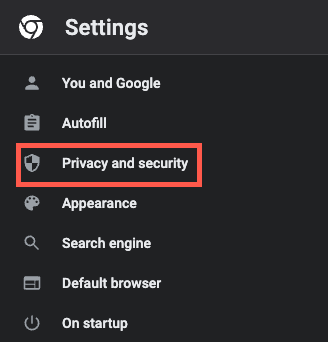
Next, select Privacy and Security from the Settings menu bar on the left-side of the screen.
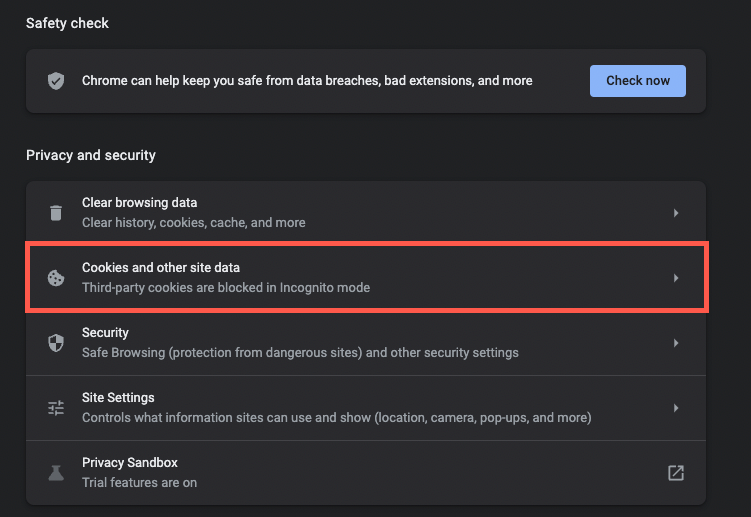
Then, select the Cookies and Other Site Data drop-down menu.
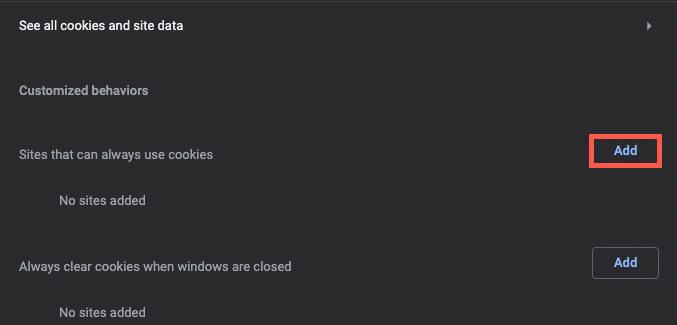
Scroll down to the Customized Behaviors section and click the trash icon next to the wellapp.com site listed.
Next, click Add under the Sites that can always use cookies section.
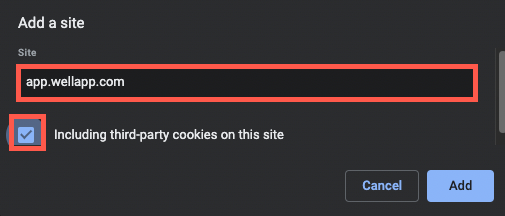
Then, type in app.wellapp.com for the site name and select the checkbox for including third-party cookies on this site.
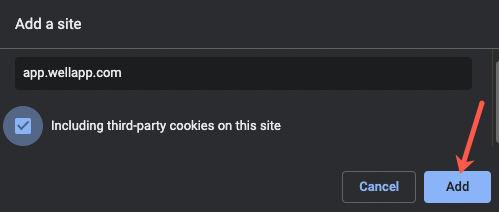
Finally, click Add.

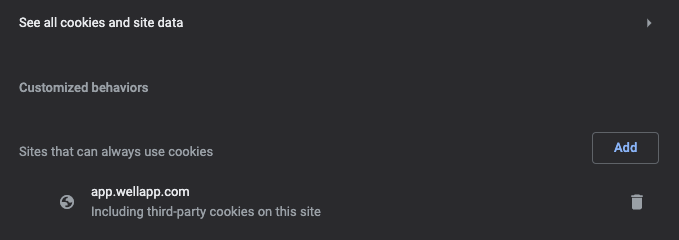
At this point, you should be able to navigate back to the Artera Platform and access the Enterprise Analytics page. You may need to refresh your browser screen.
Safari
Follow the steps below to update your browser settings if your organization uses Safari:
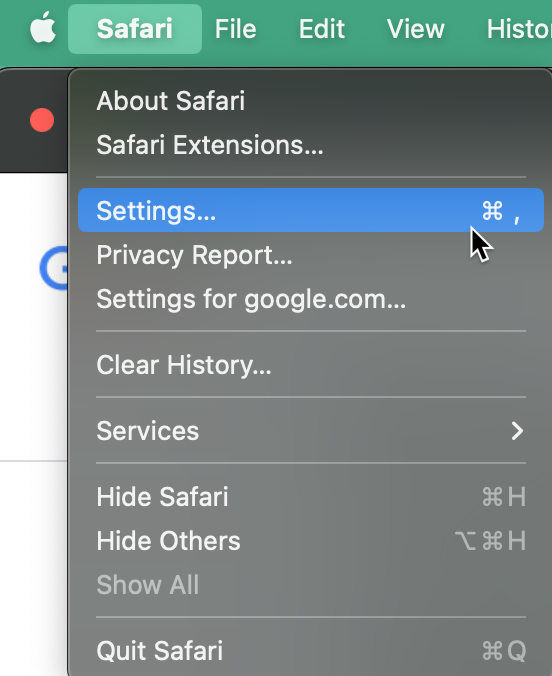
Open Safari and navigate to the Safari menu in the top-left corner and select Settings from the drop-down menu
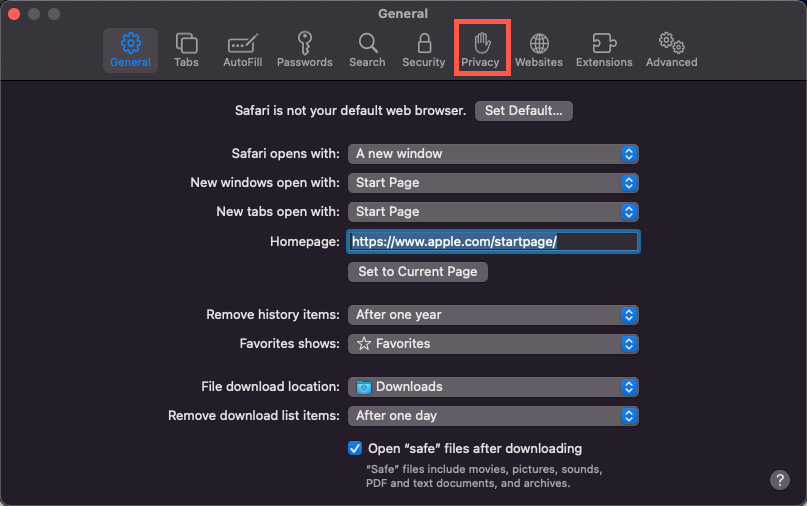
Then, click Privacy.
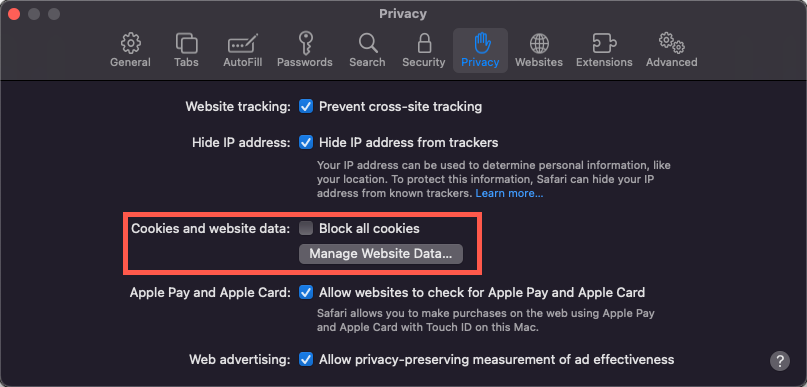
Finally, on the Privacy Setting page, uncheck the Block all cookies checkbox in the Cookies and website data section.
At this point, you should be able to navigate back to the Artera Platform and access the Enterprise Analytics page. You may need to refresh your browser screen.
Microsoft Edge
Follow the steps below to update your browser settings if your organization uses Microsoft Edge:
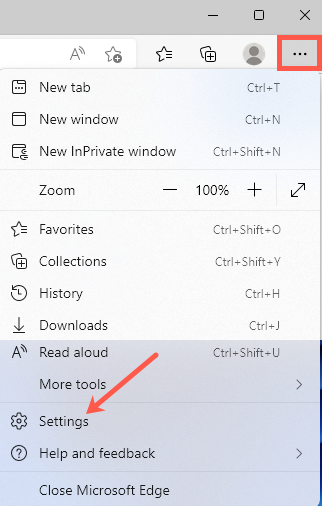
Open Microsoft Edge and navigate to the Microsoft Edge browser menu in the top-right corner of the browser window and select Settings from the drop-down menu.
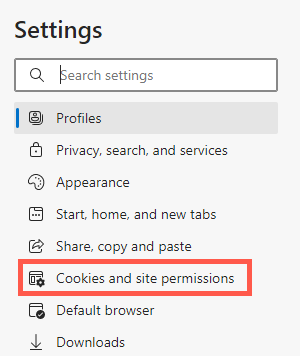
Then, select Cookies and site permissions from the Settings menu.
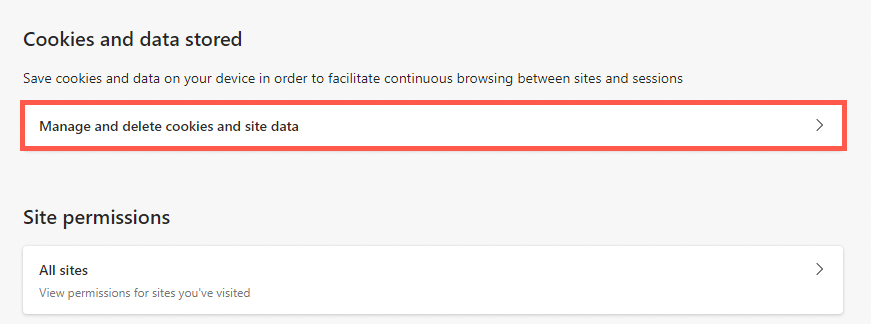
Under Cookies and data stored, click Manage and delete cookies and site data.
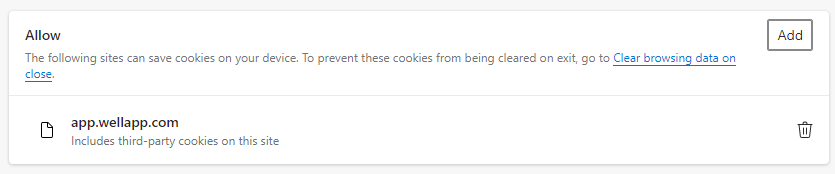
Scroll down to the Allow section and click the trash can icon next to the wellapp.com site listed.
Now, in the Allow section, click Add.
Then, in the site text box, enter app.wellapp.com and select the checkbox to include third-party cookies on this site
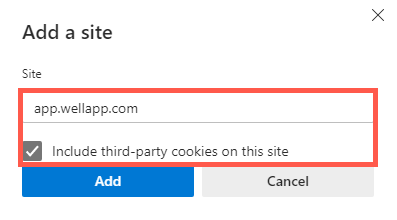
Finally, click Add.
At this point, you should be able to navigate back to the Artera Platform and access the Enterprise Analytics page. You may need to refresh your browser screen.


Firefox
Follow the steps below to update your browser settings if your organization uses Firefox:
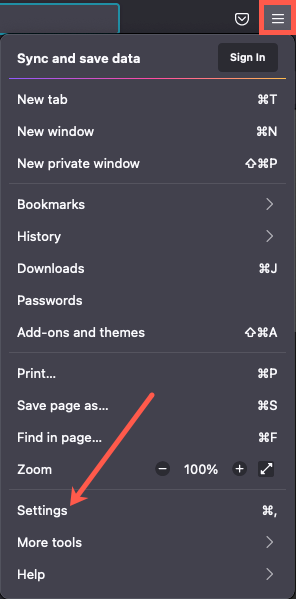
Open Firefox, go to the Firefox browser menu in the top-right corner of the browser. Select Settings from the drop-down.
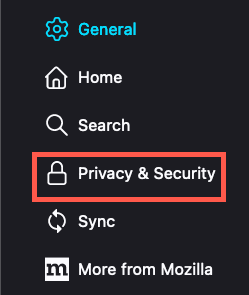
Then, click Privacy & Settings.
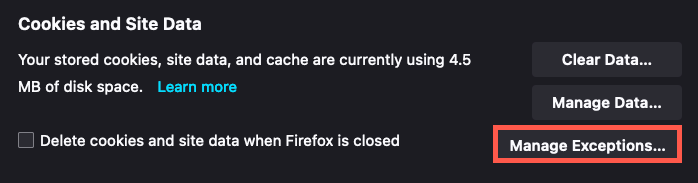
Scroll down to the Cookies and Site Data section and click Manage Expectations.
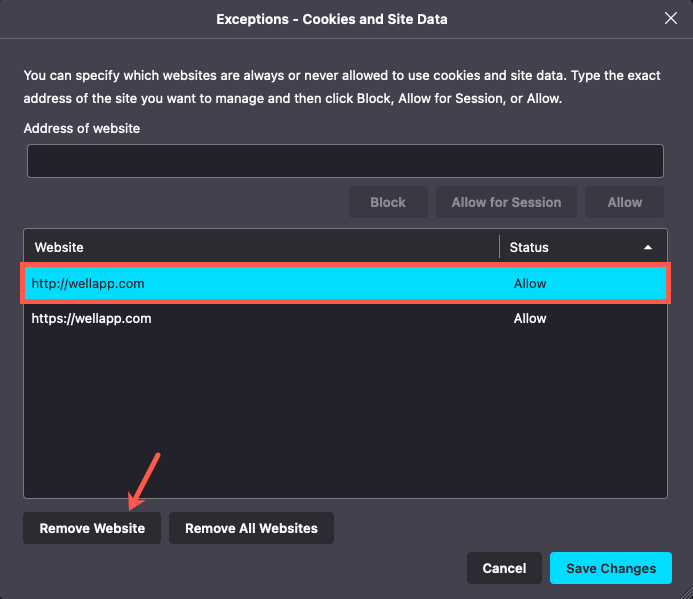
Now, select the wellapp.com website and click Remove Website. You will want to repeat this process for both the http:// version and the https:// version of the website.
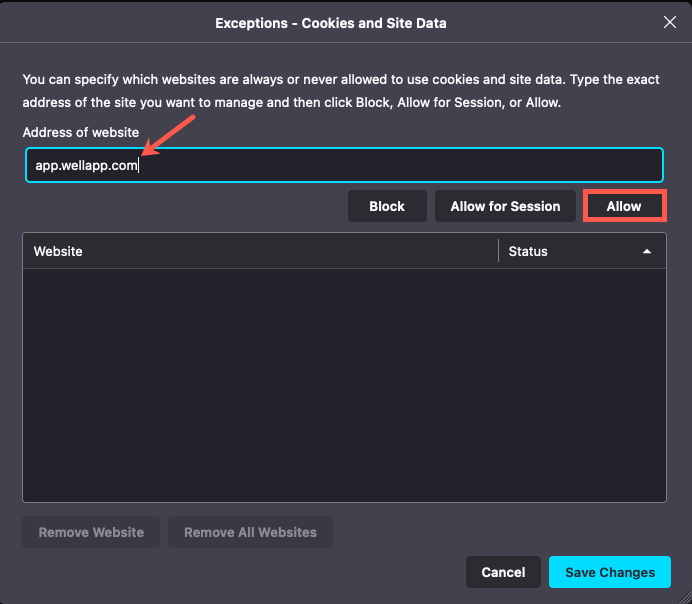
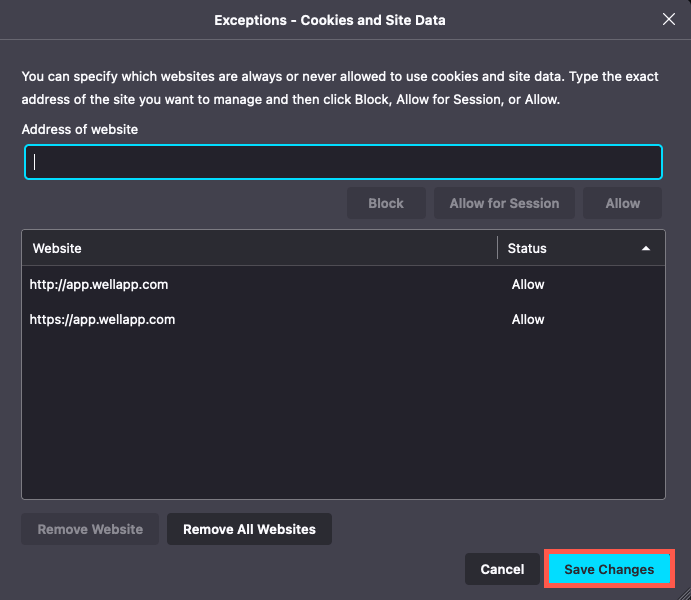
Next, in the Address of Website field, enter app.wellapp.com and then click Allow. When you add a new website to the exceptions list, it will add a http:// and https:// version of the same website.
Finally, click Save Changes.
At this point, you should be able to navigate back to the Artera Platform and access the Enterprise Analytics page. You may need to refresh your browser screen.